Get In Touch
Contact Info
- Sailing 26, Old Brozon Mall, Newyrok NY 10005
- 555 626-0234
- support@sailing.com
- Week Days: 09.00 to 18.00 Sunday: Closed
How to use Product data and Metafields in Pick, Pack and Promo
- Home
- news
Product data and Metafields
If you are subscribed to our The Greats plan, you can optionally enable Product Information and Metafield syncing.
This allows you to:
- Display Product Tags in your pick lists
- Display Product / Variant Images in your pick lists
- Display Product Metafields in your pick lists
- Build custom pick lists using Metafields
Setting up Metafields
If you don’t use Metafields, you can skip down to the next section.
If you already have Metafields set up in your Store, you are ready to go; you may just want to note down the ‘Namespace and key’ values you want to use in Pick, Pack and Promo.
If you don’t, you should create any Metafield definitions. You can do this within Shopify or using a third party app if you prefer. You may want to note down the ‘Namespace and key’ values you plan to use.
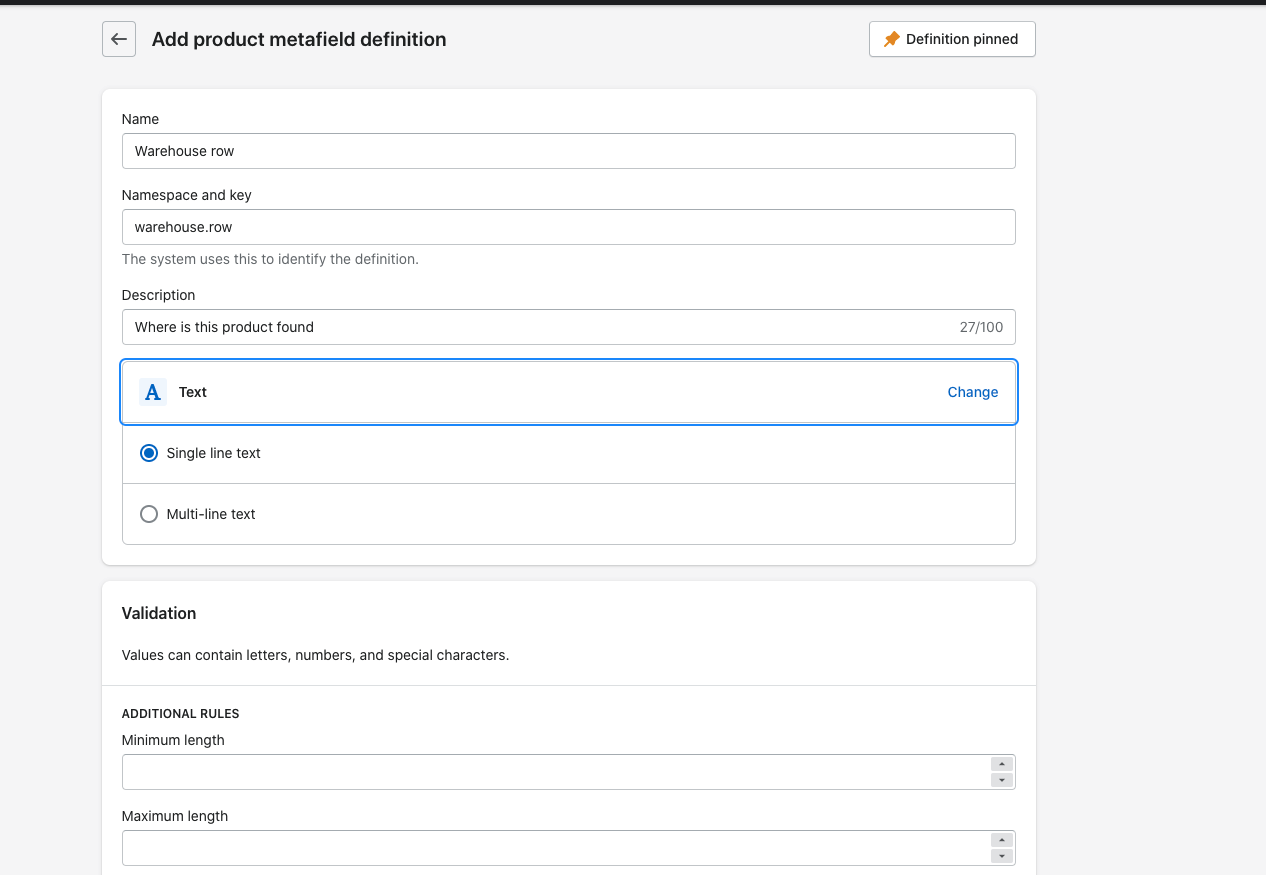
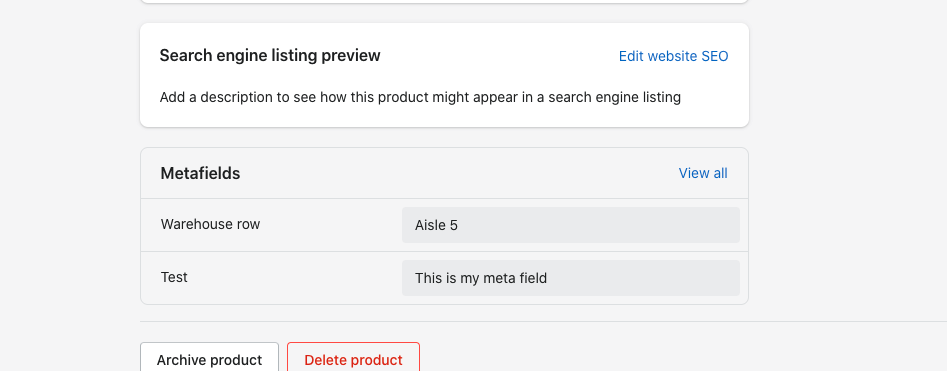
Once you have your definitions configured, set the values on each Product.
Enabling Product syncing in Pick, Pack and Promo
Browse to Pick, Pack and Promo, and go to ‘Configuration’, and then ‘Display options’. Scroll down to Premium Features, and click the button to enable ‘Enable product syncing to use product information in your list.’
If you don’t use Metafields, you don’t need to configure them, but you will now be able to optionally include the Product Image and Product Tags in your pick lists.
Remember, you will need to be subscribed to The Greats plan. If you need to grant further permissions you will be prompted to upgrade them.

Configuring which Metafields to sync
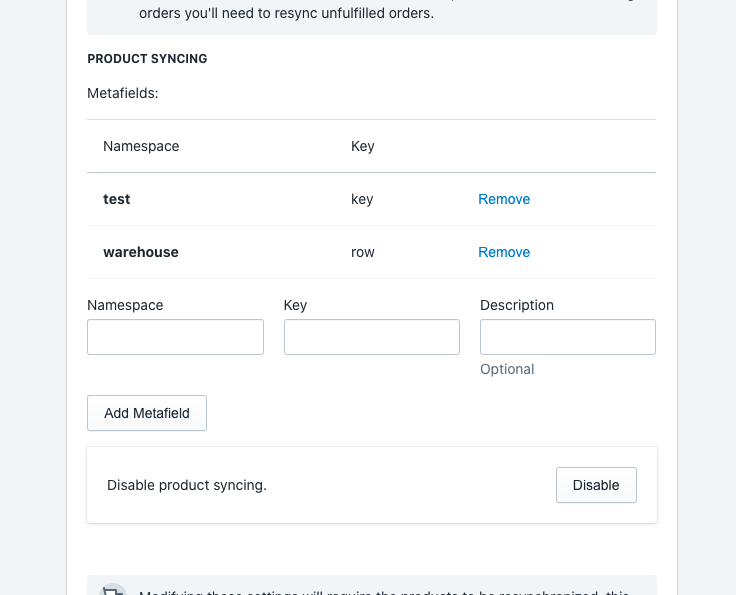
Once Product syncing is enabled, you can configure which Metafields Pick, Pack and Promo will sync. We’ll only show you these Metafields in the app configuration options to keep things simple.
If you set the optional Description field, we’ll show this in pick lists.
You will need to use the ‘Namespace and key’ values associated with your Metafield configuration. Namespace is on the left of the ‘.’ and the key is on the right.
Setting up the display of Product Information and Metafields
After you have enabled Product syncing, you can configure whether or not to display this information in your pick lists. The same is true if you are using the main default pick list or a custom one.
Note that we don’t currently support adding Product Information or Metafields to the ‘Label style’ display (if you want us to, let us know).
Under ‘Product Information’, just check the values you want to include.
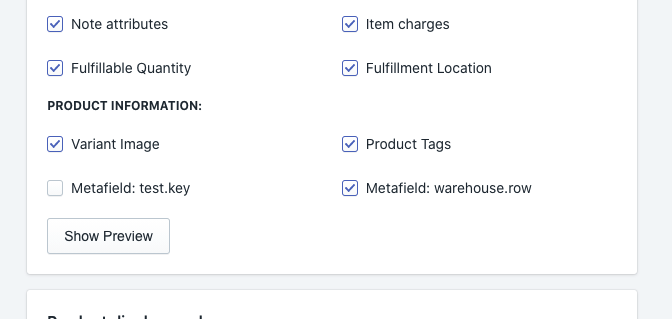
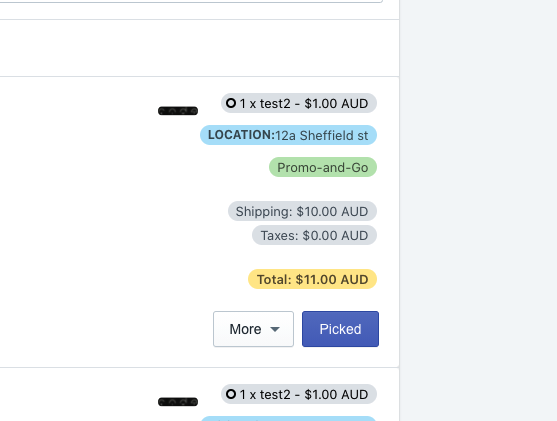
For example, this shows the Product Image and custom Metafields.
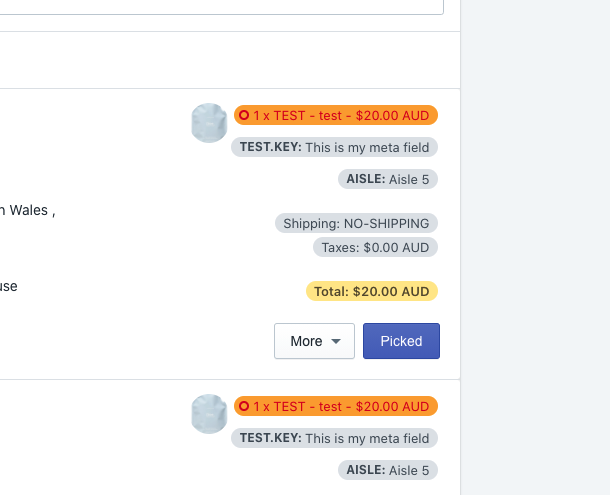
In this example, ‘Promo-and-Go is a product tag.
Using Product Tags and Metafields to create custom lists
You can use your Product Tags and Metafields to automatically create lists for you.
For example, to separate out orders than contain Products tagged with a particular Tag. Or, if you wanted to create a custom list based on specific Metafields, such as a ‘Warehouse aisle’.
Just add a rule to your custom pick list.
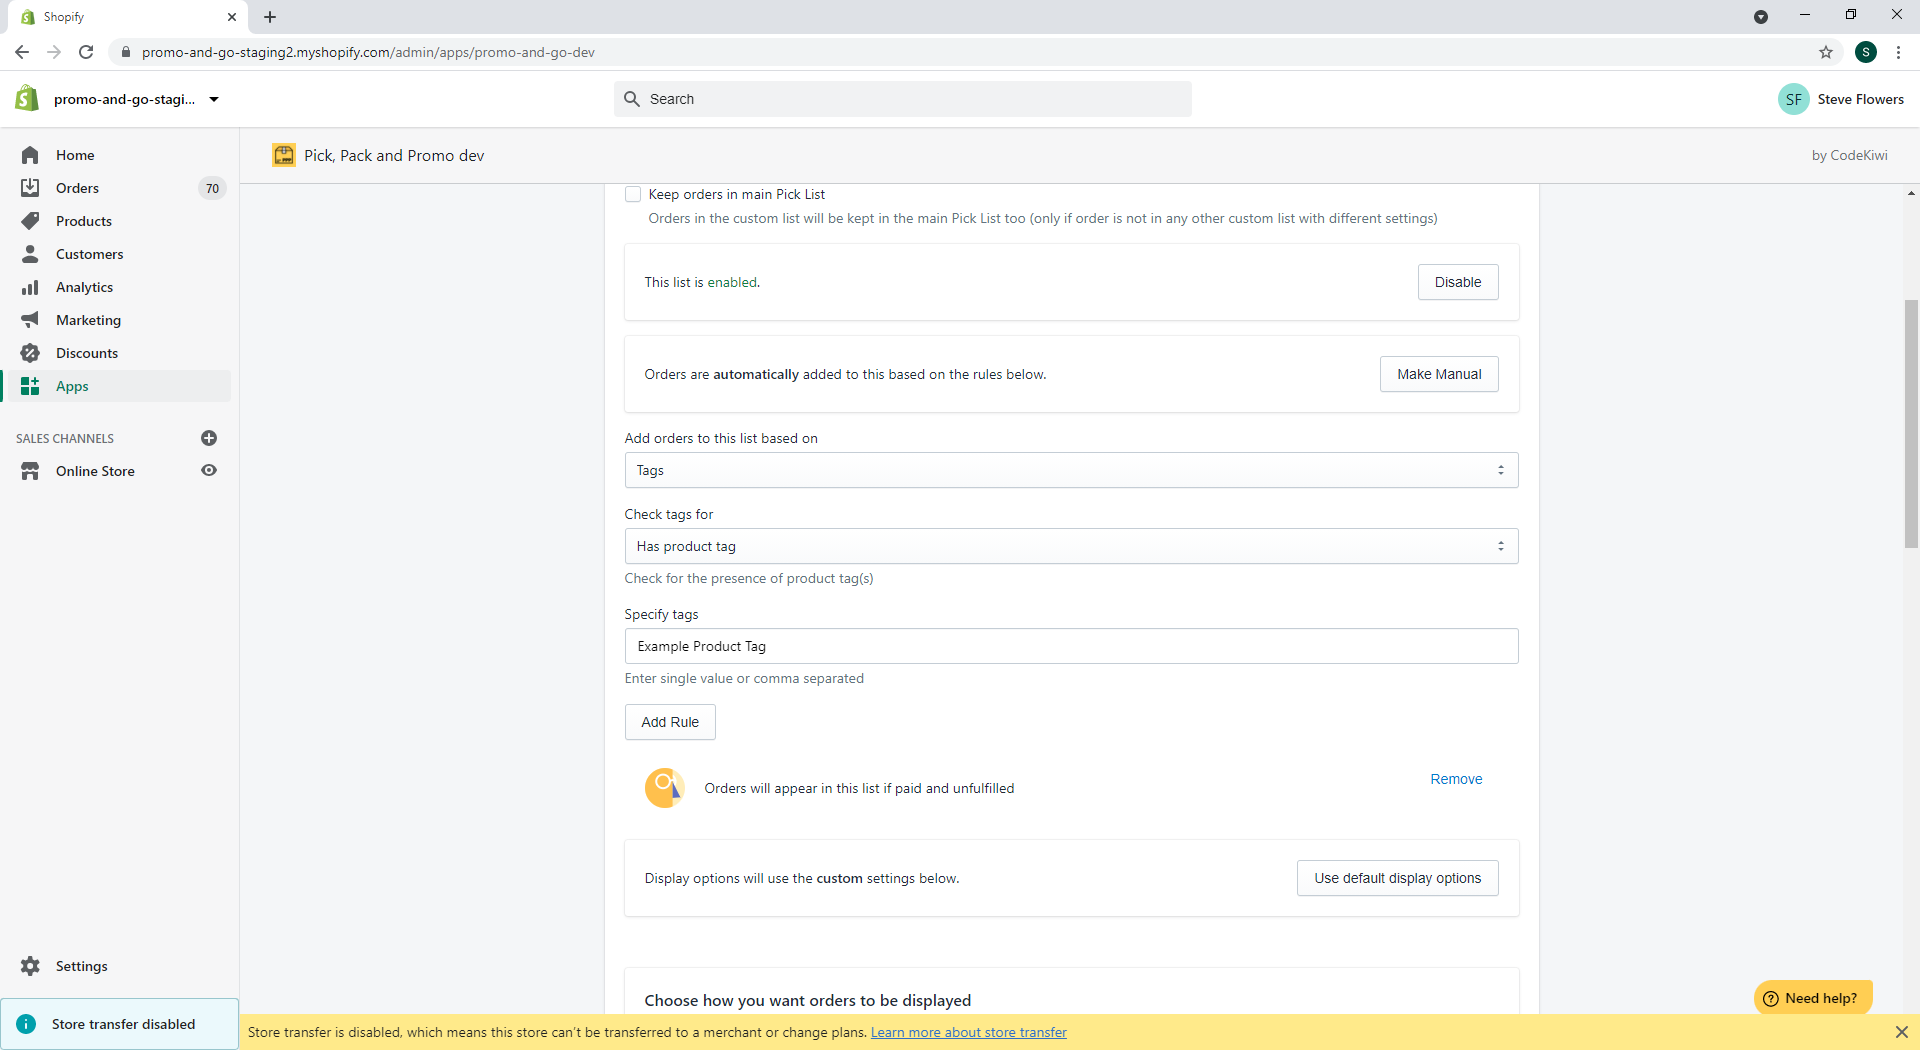
If you want to use Product Tags, add orders to the pick list based on ‘Tags’, and then set your ‘has or has not’ preference, and the Tag you want to use.
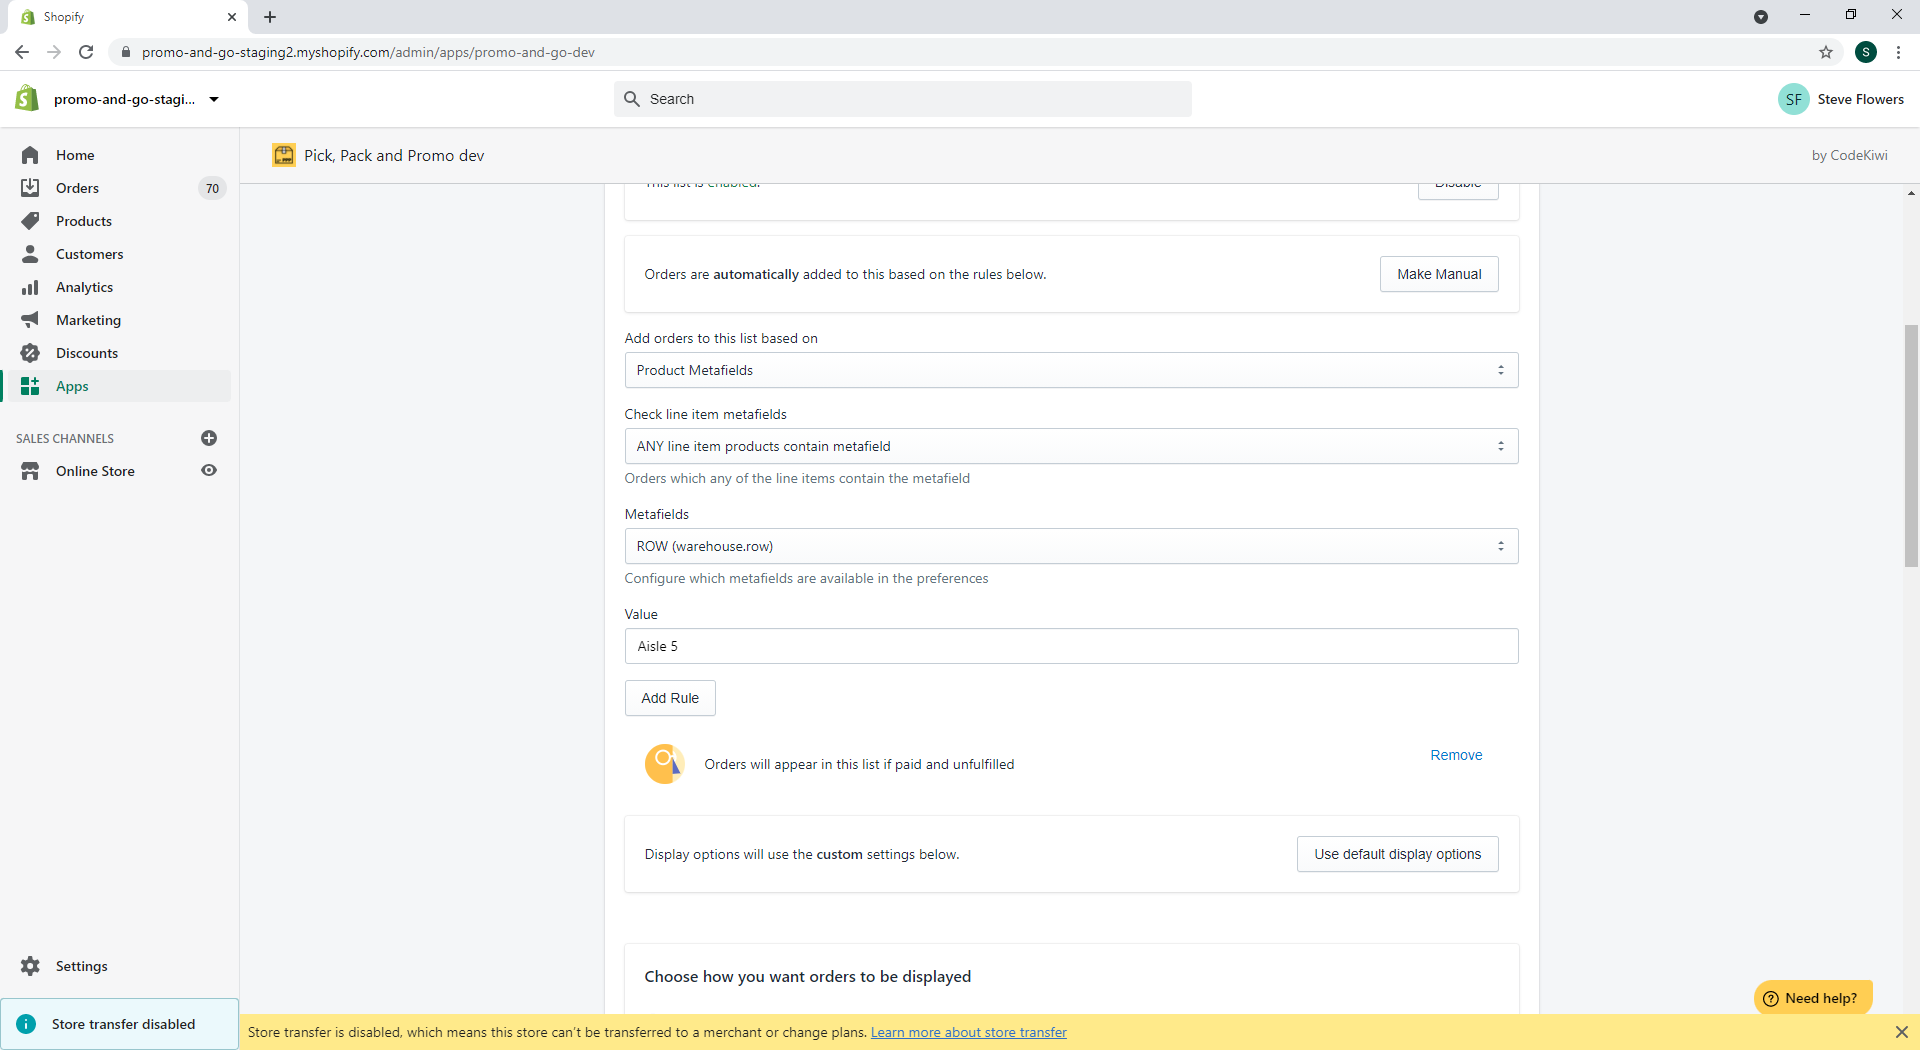
If you want to use a Product Metafield, add orders to the pick list based on Product ‘Metafields’, and select your ‘any or all’ preference. Pick the Metafield and associated value you want to use.
Remember that these rules are ‘and’ rules - they must ALL return true for an order to appear in a pick list.
Related Resources

An introduction to using Theme Shield

